February 27, 2026
When it comes to transforming a home or commercial space, few upgrades make as dramatic an impact as new flooring. Whether you are installing marble flooring in a grand entryway or laying engineered wood flooring in a cozy bedroom, the process requires careful planning and skilled execution. Floor installations can make or break the overall aesthetic of a room, and even small mistakes can lead to costly repairs down the line. Understanding the key principles behind successful flooring installations will help ensure that your project looks polished, lasts for years, and adds real value to your property.
Tip 1: Planning Your Floor Installations Thoroughly
Before you ever open a box of tiles or planks, the most important step is creating a detailed plan for your project. Measure your space carefully and account for doorways, transitions, and any irregularities in the subfloor. Decide on the layout direction, which can dramatically affect how large or small a room feels once the work is complete. Taking the time to plan also means you can order the right amount of materials, reducing waste and saving money. A well-thought-out plan also allows you to explore design possibilities and compare different flooring styles before committing to a final choice.
Tip 2: Choosing the Right Flooring Material
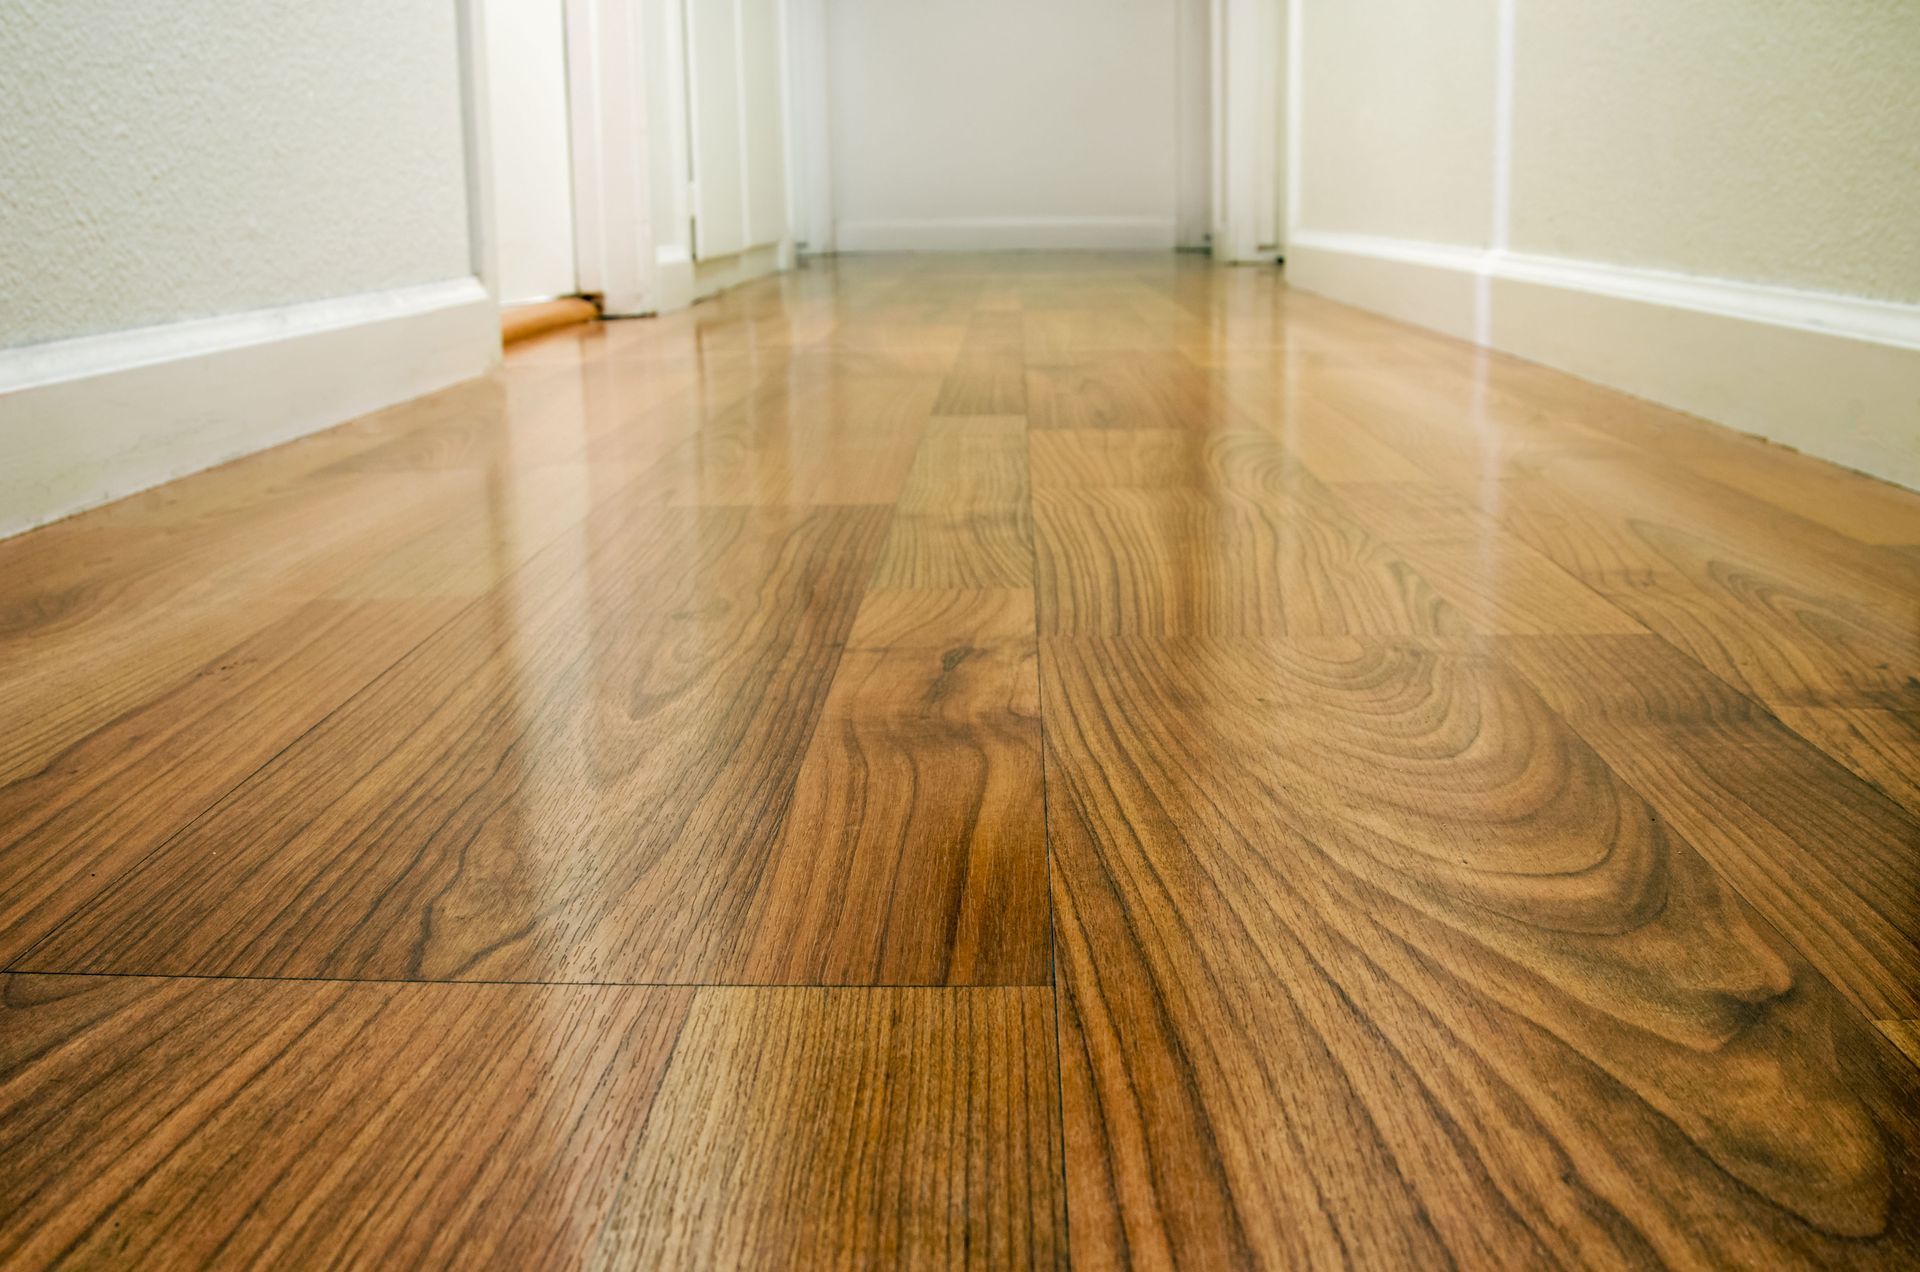
The flooring material you select should match the function and feel of the room where it will be installed. High-moisture areas like bathrooms benefit greatly from porcelain tile or ceramic flooring, both of which resist water and are easy to clean. For living spaces and bedrooms, options like luxury vinyl wood, engineered wood flooring, or wood-look porcelain tile offer warmth and beauty without the maintenance demands of solid hardwood. Understanding the strengths and limitations of each material will help you make a confident, informed decision. Visiting a showroom where you can see and touch samples in person is one of the best ways to narrow down your options before making a final selection.
Tip 3: Preparing the Subfloor for Floor Installations
A successful floor installation begins long before the first tile or plank is laid, starting with proper subfloor preparation. The subfloor must be clean, dry, level, and structurally sound before any new material is applied on top of it. Uneven subfloors can cause tiles to crack, planks to warp, and grout lines to shift over time. Investing in proper subfloor preparation protects your New floor and ensures a smooth, long-lasting result. In some cases, a professional assessment of the subfloor condition can reveal underlying issues that, if left unaddressed, would compromise even the highest-quality flooring materials.
Tip 4: Acclimating Your Materials Before Installation
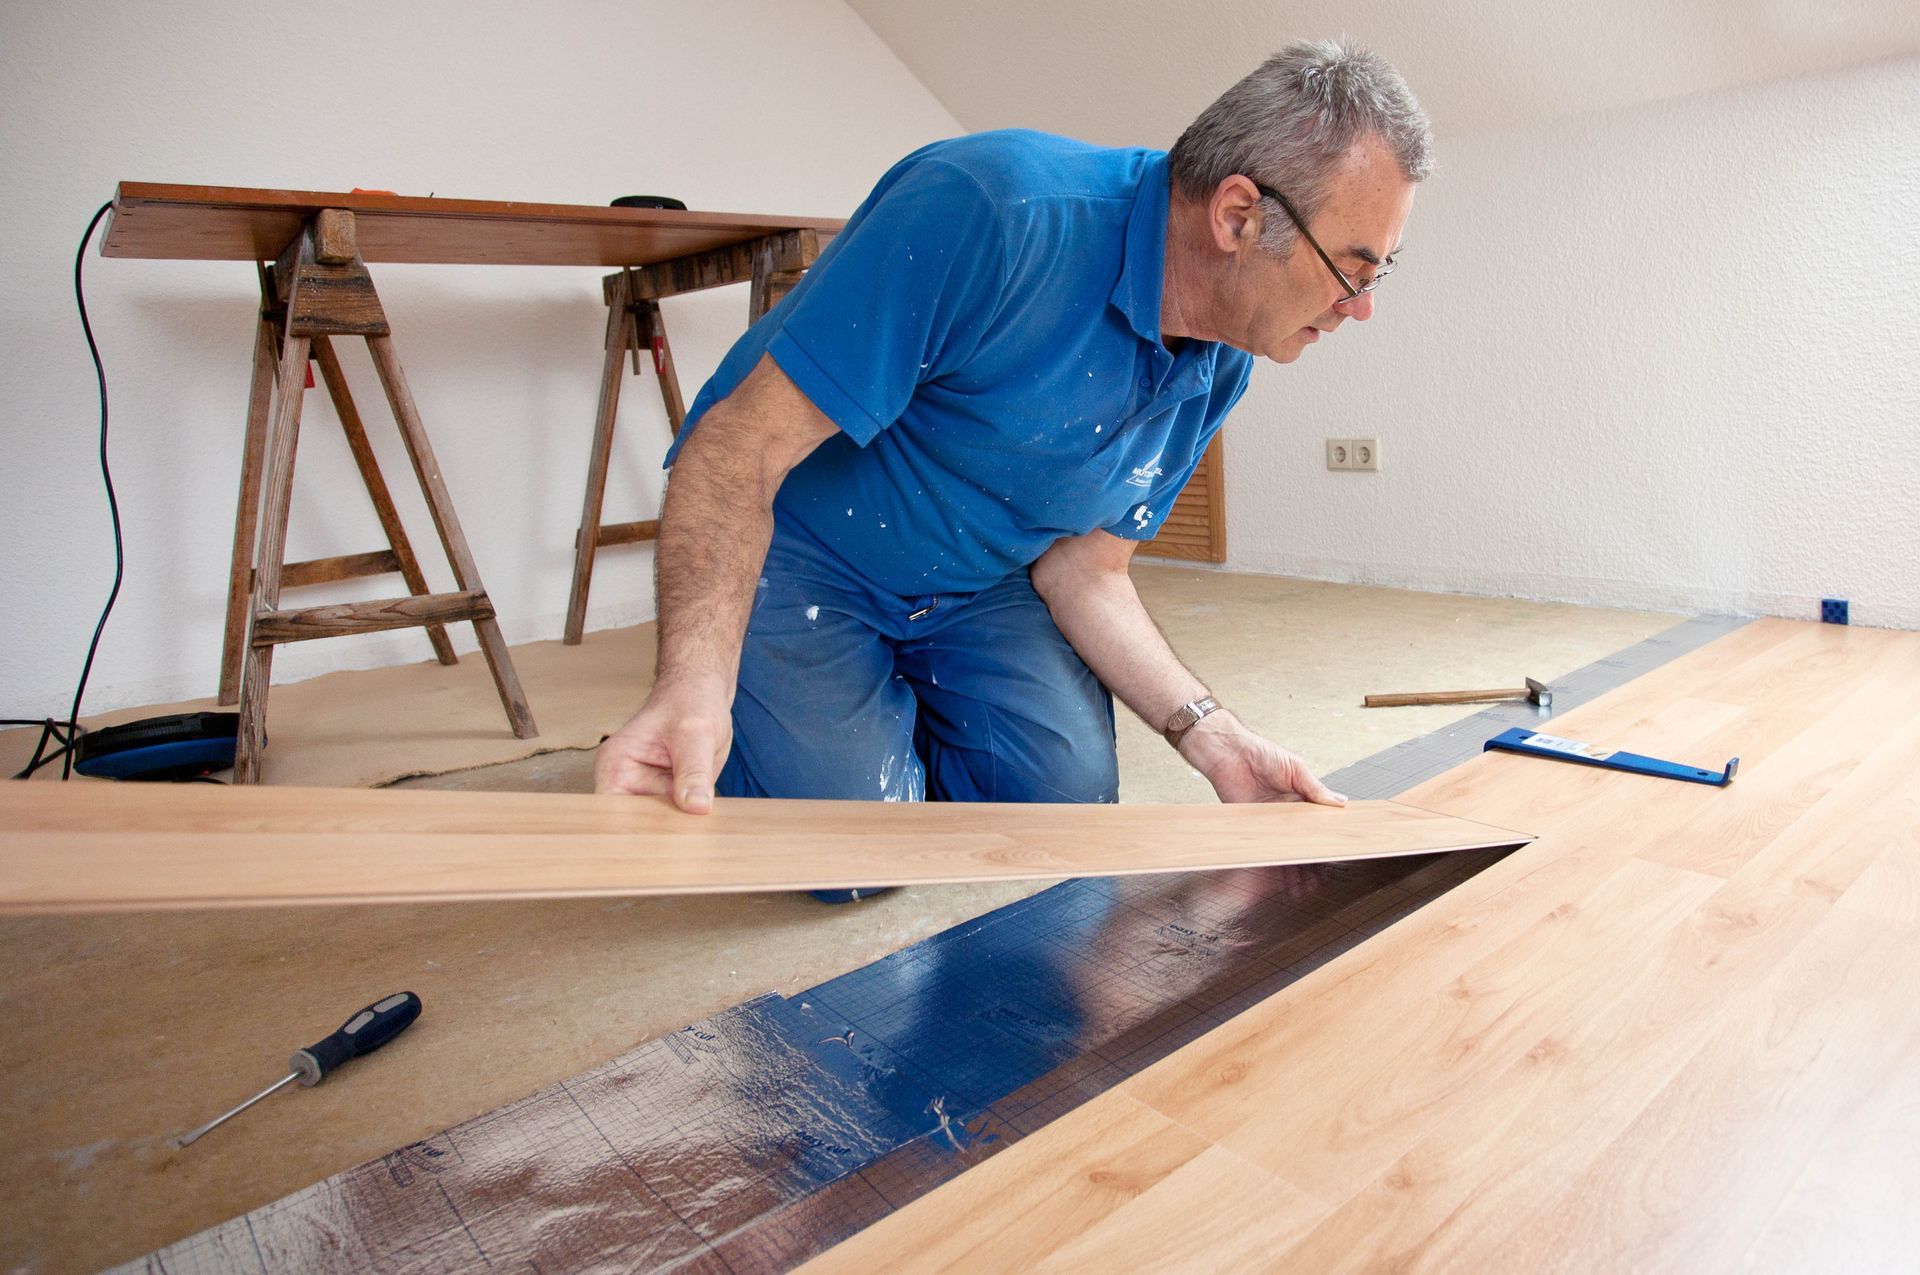
Many flooring materials, especially wood-based products, need time to acclimate to the temperature and humidity of the room before they are installed. Engineered wood flooring and luxury vinyl wood, for example, can expand or contract if they are installed without proper acclimation time. Most manufacturers recommend leaving materials in the installation space for at least 48 to 72 hours before beginning the project. Skipping this step is one of the most common causes of warping, buckling, and gapping after installation is complete. Following the acclimation guidelines provided by the manufacturer not only protects your investment but also ensures the warranty on your flooring materials remains valid.
Tip 5: Using the Right Tools and Adhesives for the Installation
Having the correct tools and materials on hand is essential to achieving clean, professional-looking floor installations. Tile work requires tile spacers, a wet saw, and the appropriate thinset mortar to bond materials securely to the subfloor. Wood and vinyl products often need specific underlayments, staple guns, or click-lock systems that vary depending on the product being used. Using the wrong adhesive or tool can compromise the integrity of the entire floor, so always follow manufacturer guidelines closely. Professional installers bring not only the right equipment but also the experience to know which tools are best suited for each unique material and subfloor combination.
Tip 6: Paying Attention to Tile Layout and Pattern
The pattern and layout of your tile can completely change the look and feel of a space, making this a decision worth spending real time on. Porcelain tile and ceramic flooring both offer incredible versatility, allowing for classic grid patterns, dynamic diagonal layouts, and intricate custom designs. It is always best to dry-lay your tiles before committing to adhesive so you can adjust the layout for balanced cuts and visual symmetry. This is especially important in spaces with visible focal points, like a kitchen backsplash or bathroom floor, where precision matters most. Thoughtful tile layout also helps minimize the number of small, awkward cuts at the edges of the room, giving the finished floor a cleaner and more professional appearance.
Tip 7: Grouting and Sealing Your New Floors Correctly
Once your tiles are set, grouting and sealing are the finishing steps that protect and perfect your floor installations. Grout should be applied evenly and fully packed into every joint to prevent cracking and moisture infiltration over time. After the grout has cured, applying a penetrating sealer helps protect porous materials like marble flooring from staining and water damage. Proper grouting and sealing extend the life of your floors significantly and keep them looking flawless for years to come. Resealing your floors periodically after the initial installation is also recommended to maintain that protective barrier, especially in high-traffic or high-moisture areas of the home.
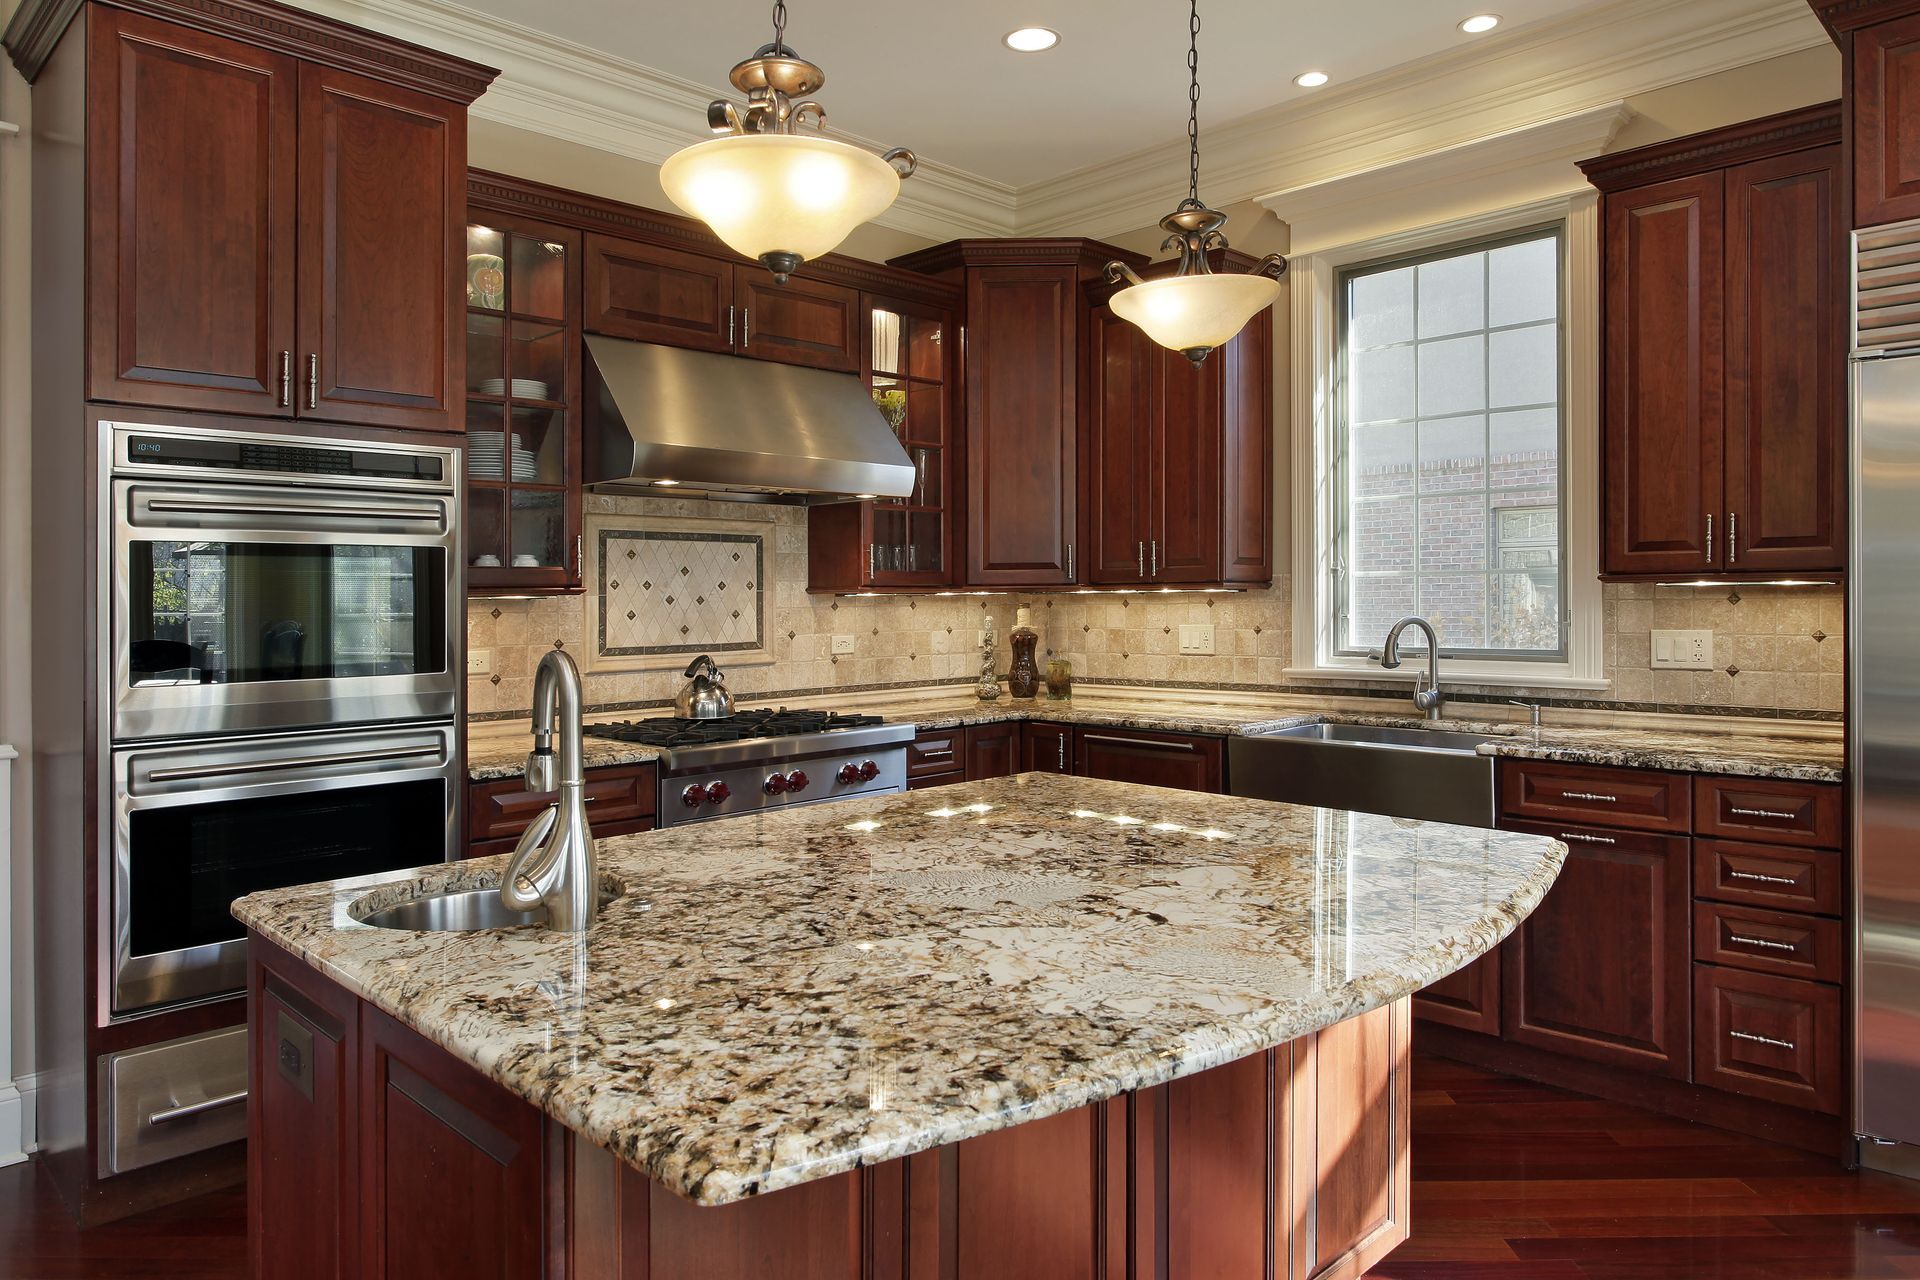
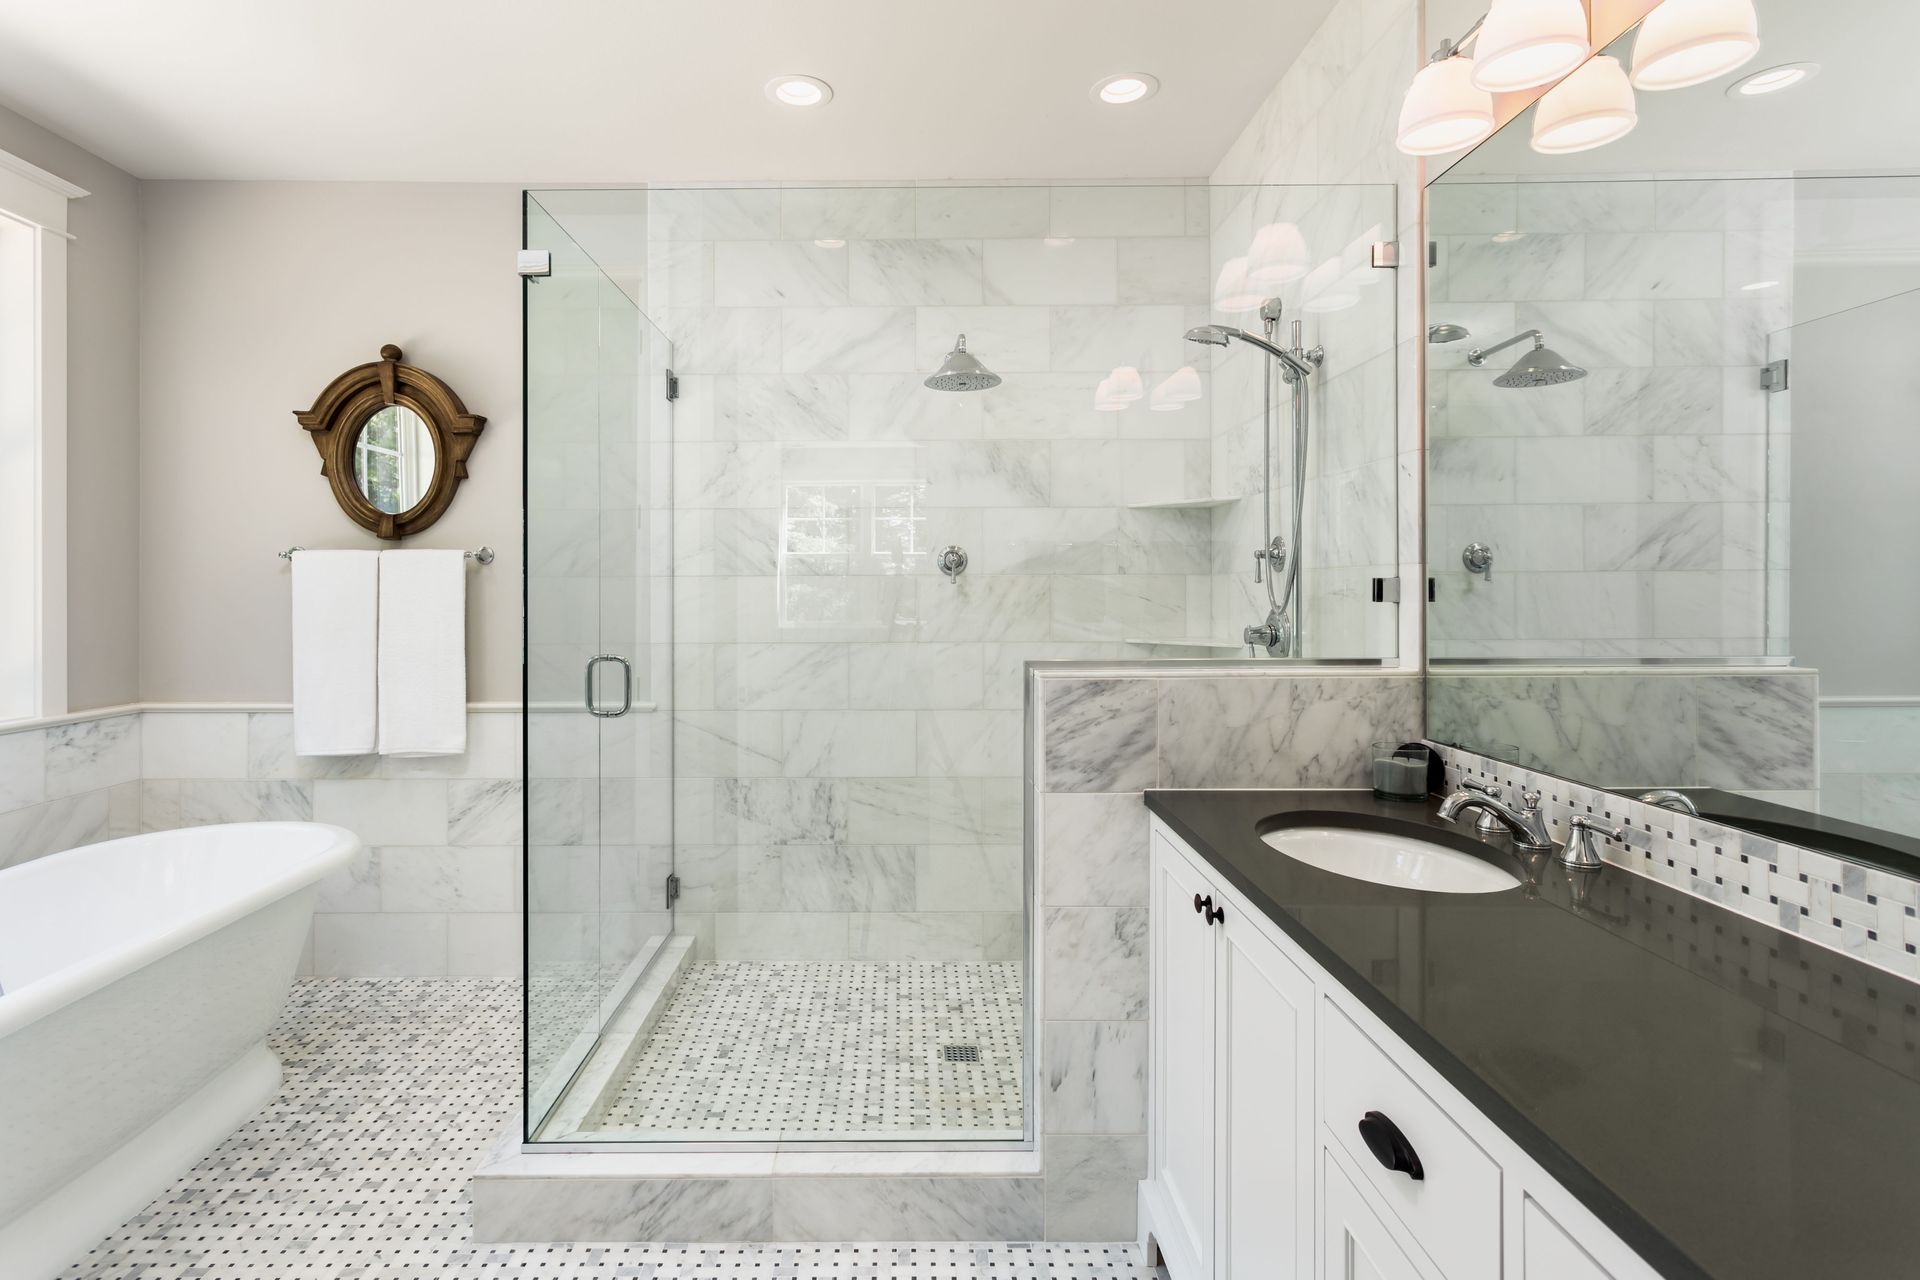
Tip 8: Coordinating Flooring with Other Remodeling Projects
Flooring rarely exists in isolation, and the best results come from coordinating your floor choice with other elements of a room's design. If you are undertaking a kitchen remodeling project, for instance, your flooring should complement your quartz countertops, backsplashes, and custom cabinetry for a cohesive look. Similarly, a bathroom remodeling project brings together elements like glass shower doors, tile walls, and flooring that all need to work together harmoniously. Thinking about flooring as part of a larger design vision rather than a standalone decision leads to results that feel intentional and beautifully integrated. Working with a team that offers a full range of remodeling services makes it much easier to achieve that seamless, unified look throughout every room of your home.
Tip 9: Understanding Warranties and Structural Guarantees
One of the most overlooked aspects of a floor installation is understanding the warranties and guarantees that come with both the materials and the labor. Quality flooring contractors should offer structural and labor warranties that protect your investment in the event of installation defects or material failures. These warranties give homeowners peace of mind and hold installers accountable for the quality of their work. Always ask about warranty terms before signing any contract, and make sure the coverage applies to both the product itself and the workmanship behind the floor installations.
Tip 10: Working with Professionals Who Know the Market
According to Mordor Intelligence, the residential segment accounted for 70% of the US flooring market size in 2024, reflecting just how significant homeowner investment in quality flooring has become. With so much demand in the residential space, the number of flooring contractors has grown, making it more important than ever to choose professionals who are experienced, reputable, and knowledgeable. Look for contractors who offer a showroom where you can view actual samples of materials like marble flooring, wood-look porcelain tile, ceramic flooring, and luxury vinyl wood in person before making a decision. A showroom experience allows you to compare textures, colors, and finishes side by side, which makes choosing the right floor far easier and more confident than shopping online alone.
Achieving truly flawless floor installations comes down to preparation, the right materials, skilled execution, and working with a team that stands behind their work. From choosing between porcelain tile, ceramic flooring, engineered wood flooring, and luxury vinyl wood to coordinating your floors with kitchen remodeling, bathroom remodeling, quartz countertops, backsplashes, and custom cabinetry, every detail matters. At Decor-N-Tile, the team is proud to offer a full range of flooring and remodeling services, a showroom where you can explore your options in person, veteran discounts, and structural and labor warranties that protect your investment. For more information, contact us today!